My trike has Avid BB7 mechanical disk brakes which work very well and which seem relatively low-maintenance. I changed the pads at 10,000 miles and they have worked well.
However, yesterday when I realised the left brake needed to be adjusted I discovered that the bolt that turns to move the pad in or out was stuck. How annoying.
My multitool didn’t allow me enough purchase on the bolt so in the end I took the brake off and had a go at it with a bit more effort. To no avail.
So this is the story of how we ended up boiling my brake, burning it, chilling it and drowning it.
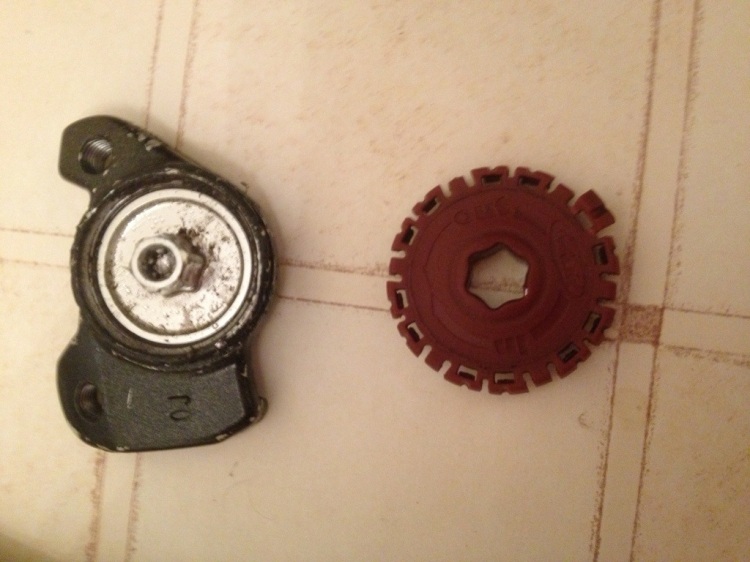
This is the bit in question – a caliper with a screw-in disc that can be tightened or loosened so the pad is move nearer or further from the disc rotor. It has a red plastic cap on it which you can use to twist it, or if that won’t work the Torx screw in the centre. Neither of these was working.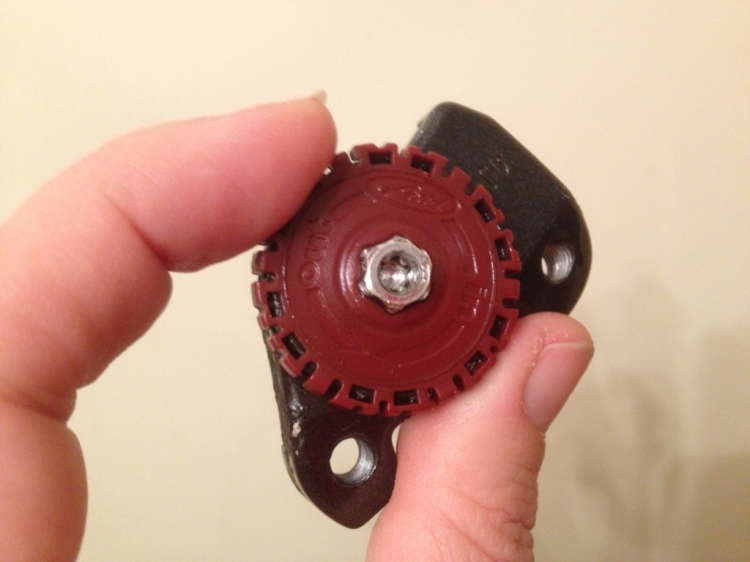
And this is the view from the ‘inside’ – clearly a bit grotty and corroded.
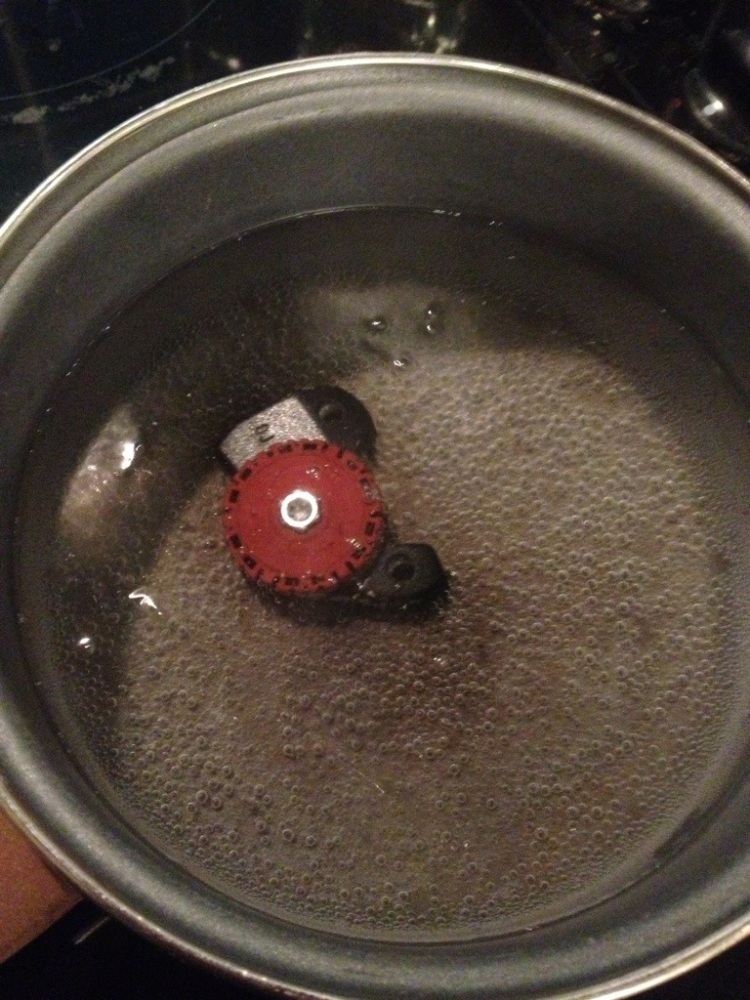
James (my husband) is a good problem-solver and he thought that heat might break the corrosion connection. So first of all we boiled up the brake bit in a saucepan.
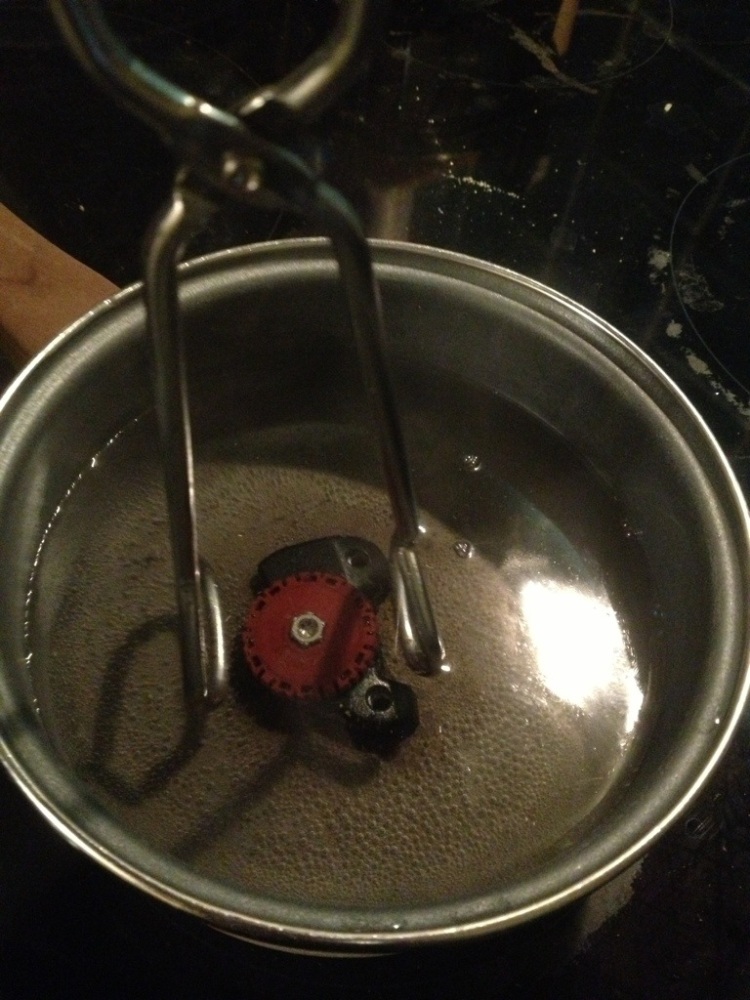
We turned it to check it was evenly cooked
Then whipped it out and tried to unscrew it. No joy.
So after a few more heating cycles we decided to go for the thermal shock method which involved plunging it into cold water after heating it.
No success.
At this point James worked out how to remove the plastic outer which clearly could not cope with too much heat!
Now he could really go for the heat treatment – the gas gun!
Despite trying this several times it would not budge.
I had been googling spare parts for the brake and unfortunately the caliper isn’t available separately so it would mean buying another entire brake unit at about £60. Not something I was particularly keen on so we decided to leave it overnight soaking in some GT85 and see if we had more success the following morning.
Still no joy in the morning despite all the soaking. However we decided to try again with the hot gas gun as we thought that expansion of the metals really ought to break the corrosion seal. This time we did it for longer and it was very smelly!
After the first heating it moved slightly – maybe a couple of millimetres!! Hooray, the first sign of success!
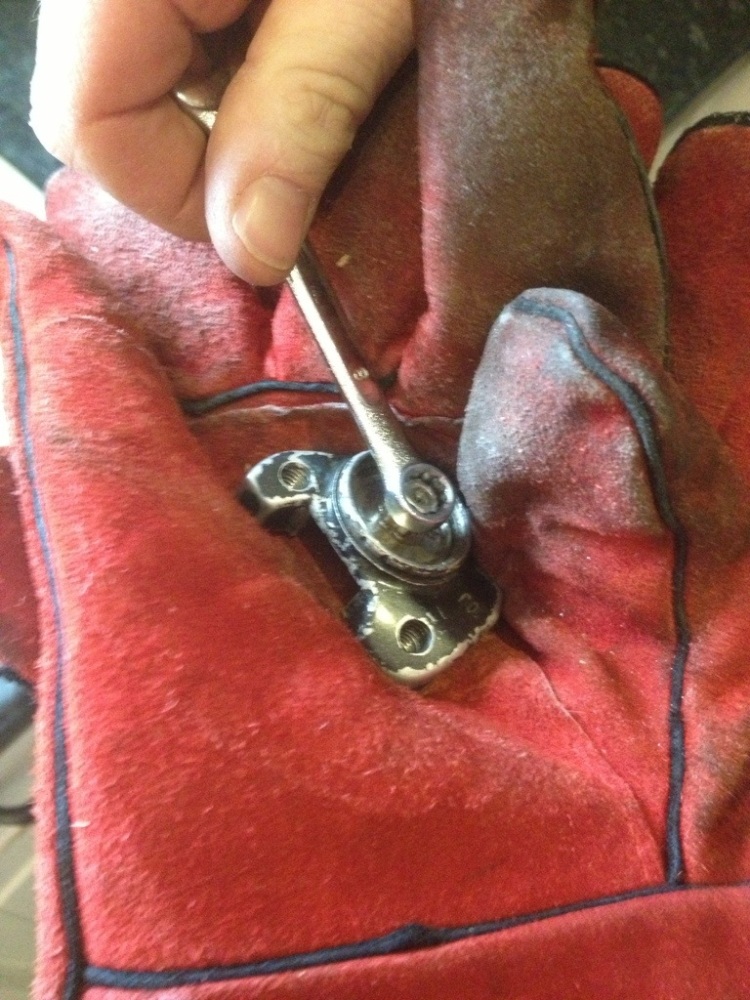
A second long heat burn which required James to wear two pairs of welder’s gloves to handle the caliper. But it was definitely unscrewing!!
A third long heat and this time we had even more success. The thing was definitely getting much looser.
It wasn’t entirely undone yet but James decided to soak it in some more GT85 while it cooled.
After about ten minutes he was able to undo it very freely, hurrah!
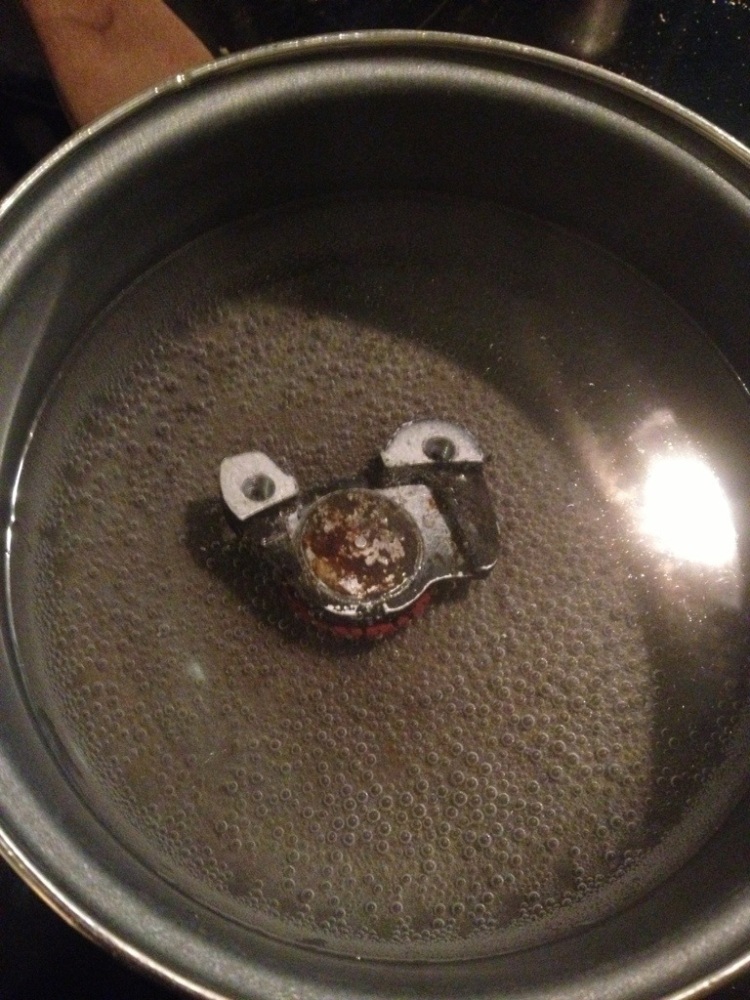
As you can see, the top of the disc thingie is pretty pitted

However the caliper seems none the worse for wear (apart from a lack of paint) so we are hoping to just get a replacement disc and then things should be OK.
For the time being I have refitted this disc (minus the plastic red end bit) onto the trike and it all seems to be working OK – it has been well greased.
I am going to disassemble both brakes in due course and make sure all the metal-to-metal surfaces are greased (except where they are part of the actual braking surfaces!) ICE had suggested I do this in a telephone conversation yesterday – I just wish I’d done it sooner to save two hours of faff and challenge.
It’s worth noting that this brake had its pad changed 1500 miles ago (just under two months) and all was fine there. Two months of cold, snow and salted roads have been pretty unkind to it. You have been warned!







Our salty winter immersion is unkind to any unsealed moving metal parts 🙁 I’m going outside soon to unseize the parking brake. I have previous experience with v-brake pivots and winter – I’m hoping these also have room for the o-rings I added in the past to keep the grease in and weather out.
Well, no room for o-rings, so I had to countersink the brake arms a little to fit them. All sealed up and greased now – you might blob a little grease on those handbrake arms to keep them moving and the wet out of the pivots. By the way, I have always called the hot water / gas torch treatment a “heat spanner”.