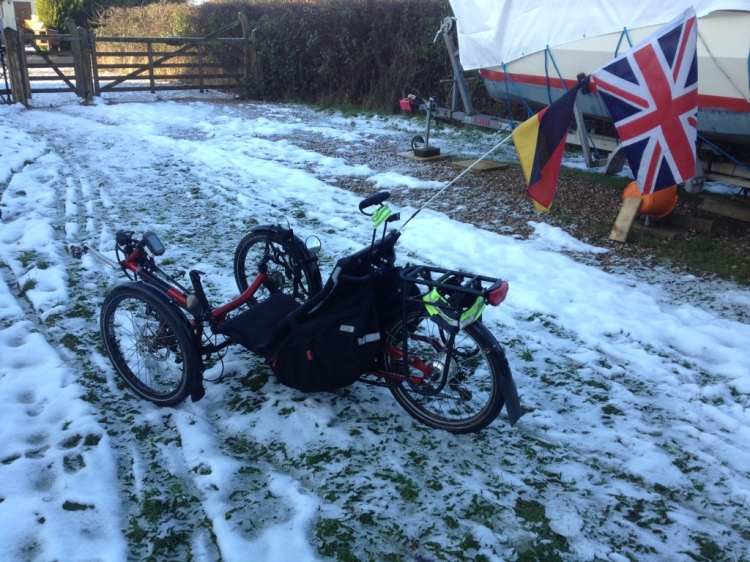
It’s 25 January 2013 and I’ve cycled 610 miles this year through snow, rain, slush, mud and more.
The chain on my Sprint (three KMC X9 chains joined together) was looking a bit sad and, when measured, had clearly stretched a fair bit. However I tried to keep it running as with all the salt on the road any new chain would rapidly get very mucky.
I originally bought the replacement chains in September 2012 (at 3000 miles for the old chain, the previous distance they lasted on my Trice Q with rear derailleur) but this chain was clearly lasting a bit better (presumably because of the Alfine hub gear at the back which meant the chain wasn’t continually moving up and down a cassette).
It was looking worse and worse, however, following two weeks of cycling in the snow, 25 miles per day, then putting the trike straight back in the shed covered in muck and going inside for a nice cup of tea.
So it was no great surprise when today the chain started feeling very rough on my morning ride and then it suddenly jammed. I’ve had this before – a broken link – so I stopped beside the road and had a look. This time I could see the chain tubes had disconnected from the mount by the idler and pulled back along the chain in one case and into the idler in the other.
This is a pic of how the chain tubes should be attached to the idler – with clearance between the end of the tube and the idler (this is after I’d repaired it, and without a chain on the trike at the time of the photo).
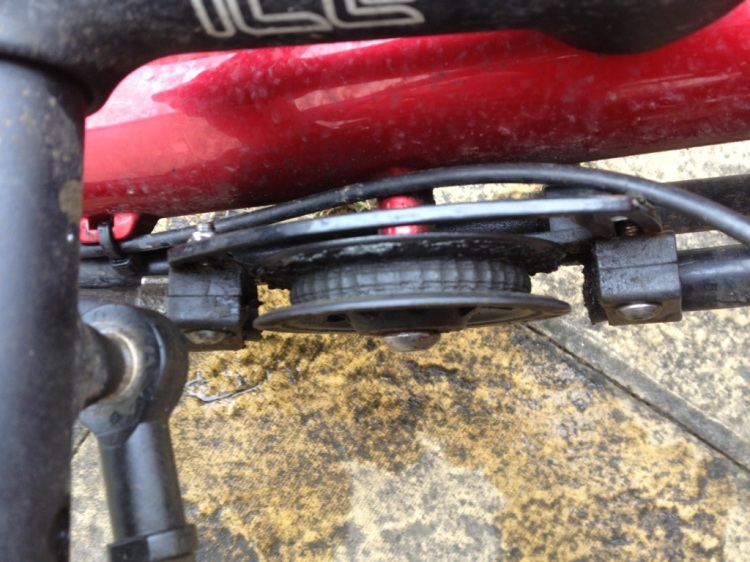
What had happened is that both chain tubes had moved position; the one at the rear had popped out of the holder and gone towards the rear hub gear. The one at the front had been pushed against the idler and was rubbing against it.
I fixed these (getting impressively oily in the process) but the chain was still not running well. I used a bit more pressure and – *ping* – what I had suspected was the case, a link must have partially broken and got caught in the chain tube, disconnecting it from the idler, and my pulling a little harder meant that it gave up.
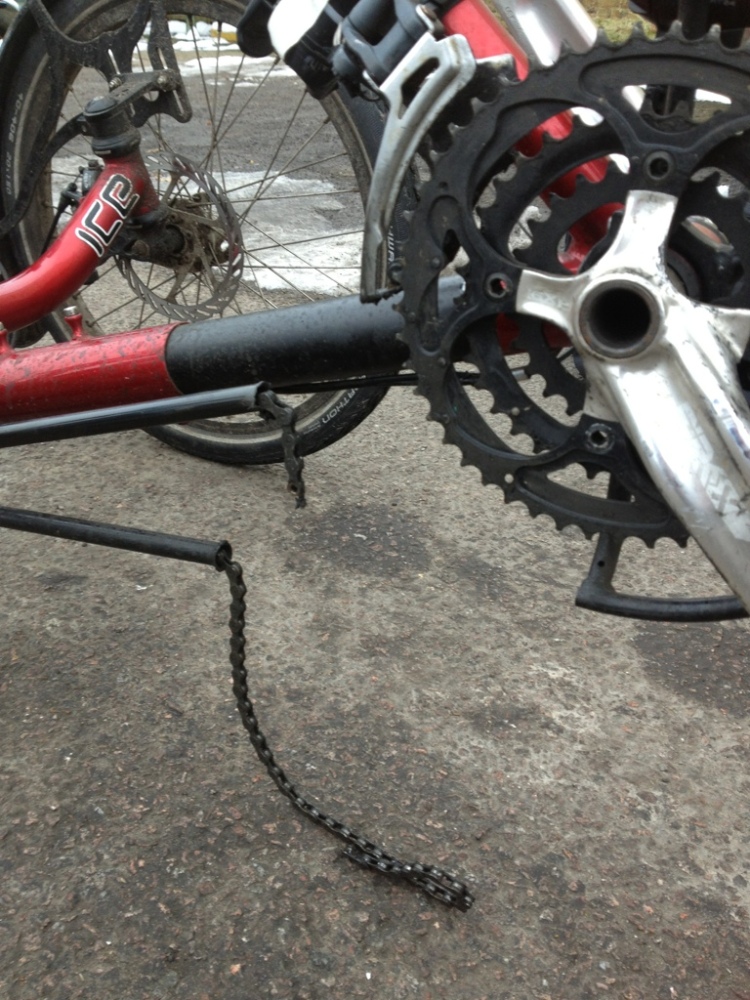
Clearly this is a very broken chain!
Although I had hoped to make the chain last until the worst of the cold weather was out of the way, that was clearly not going to happen. Rather than fix this chain with a quicklink and then change it when I got home, I rang for the Broom Wagon (my husband) who came and picked me up.
We removed the old chain and James measured it – it had stretched almost 0.75% according to the Park Tools Chain Checker tool. Pretty past it!
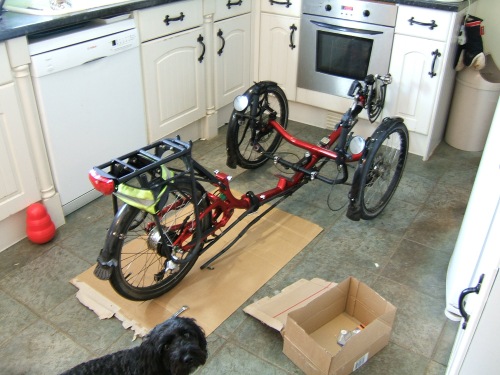
As I was going to have to do the chain I thought it worthwhile to give Alfie a full winter service. It was way too cold outside so I decided to give him a big wash down and then bring him in the kitchen to work on.
So Alfie was duly washed – it’s chilly work when it’s -1 degree outside!
While I was waiting for him to dry I decided to do one of the other little jobs I’ve had for a few weeks – put on my nametag.
Some cycling acquaintances (Loadsabikes and Mr Miggins) had tried Alfie out on a group cycle ride many months ago. Mrs Miggins wondered about turning to the darkside and wanted to try one out. She loved it and in due course bought a second hand Trice Q and I think is enjoying it very much.
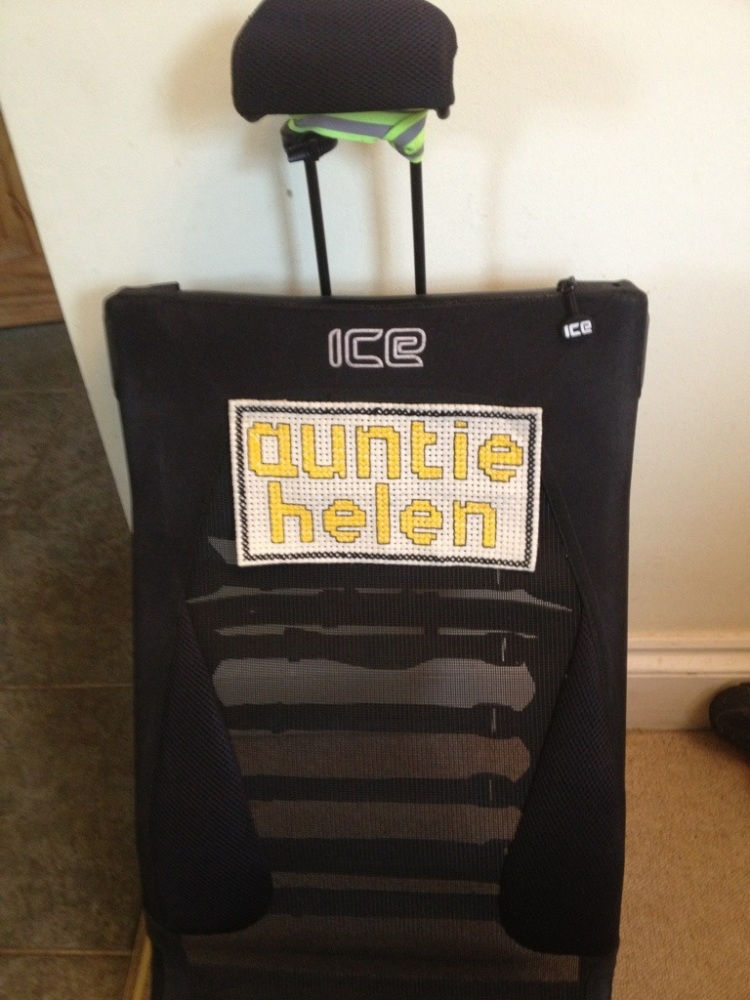
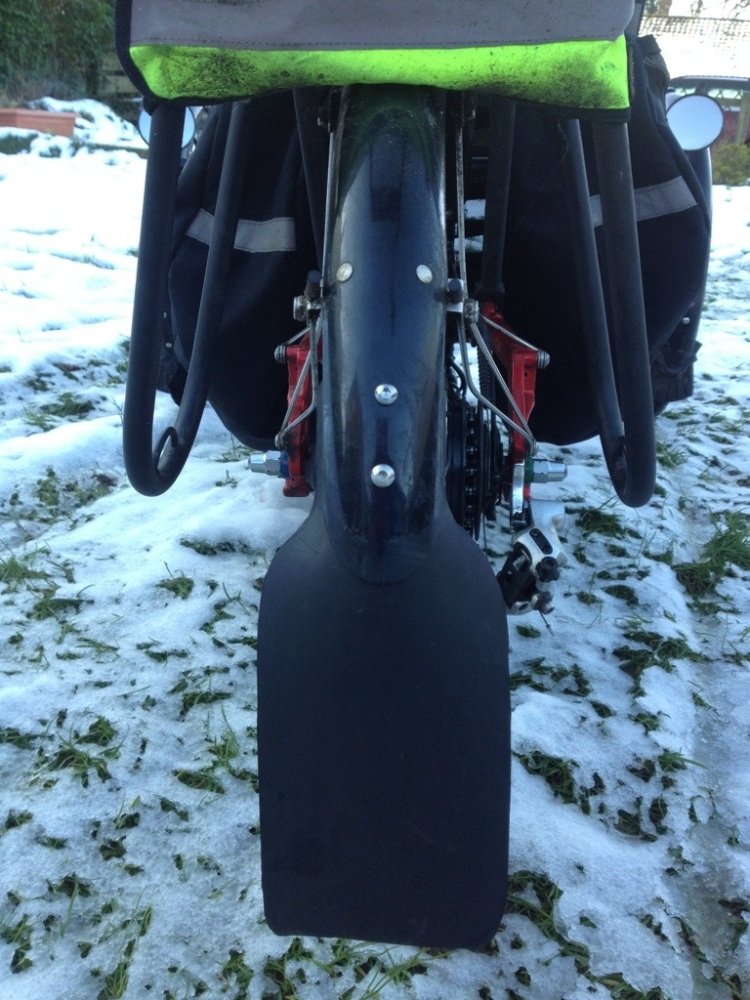
As a thankyou (entirely unnecessary!) Mrs Miggins embroidered me a name tag for the seat and Loadsabikes made me an extra long rear mudflap, which I decided to fit today.
But first, the nametag on the seat!
Looking good! I wonder how long it will stay white, though!
After I’d had my lunch it was time to bring Alfie into the kitchen.
I had a handy piece of cardboard in place to catch all the little drops of oil and grot which seem to be part of this kind of job.
I decided that the first job was to put the new rear mudflap onto Alfie. This requires removal of the back wheel and it’s much easier to do this without a chain.
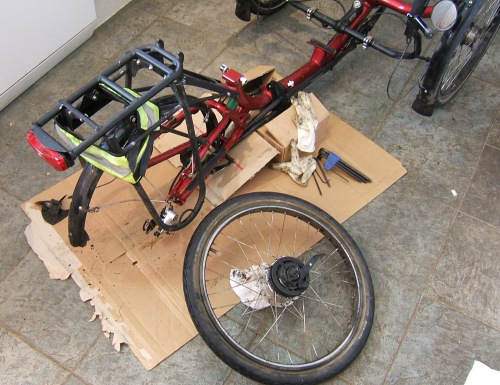
So I disconnected the Alfine gear cable, undid the two axle bolts and attempted to remove the wheel. Which really didn’t want to come out. I called for James to help me and between the two of us we eventually managed to remove it but it was weird that it had been so difficult. We later on discovered why.
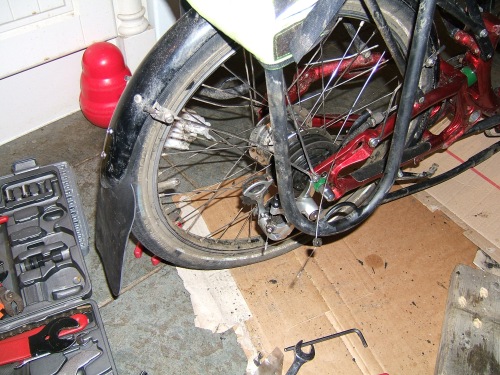
So here is Alfie’s back end minus a wheel. I did some wheel cleaning whilst James found his tools to fit the mudflap.
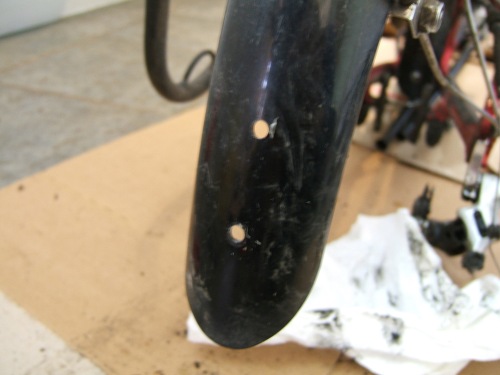
The first thing we needed to do was remove the old mudflap which required us to drill out the old rivet. This took a surprisingly long time and lot of force! However we eventually managed it.
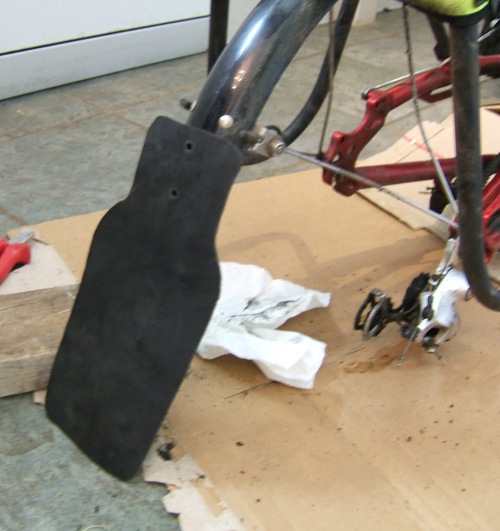
Here is the new mudflap ready to be fitted.
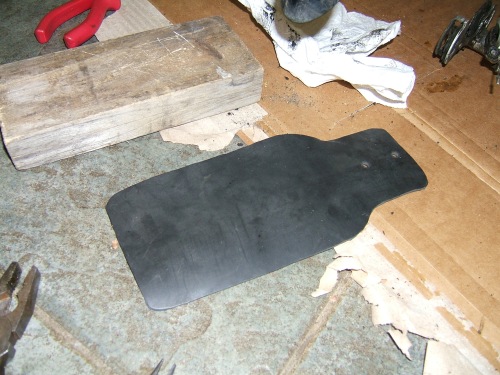
Note that it has two holes instead of the original one which ICE use for their normal mudflap. I am a big believer in two mudflap mountings to prevent rattling so this was very handy. Obviously we needed to drill an additional hole in the mudguard, so James did that.
We then had to find some bolts to fit it but were able to find some previously-supplied-by-ICE bolts.
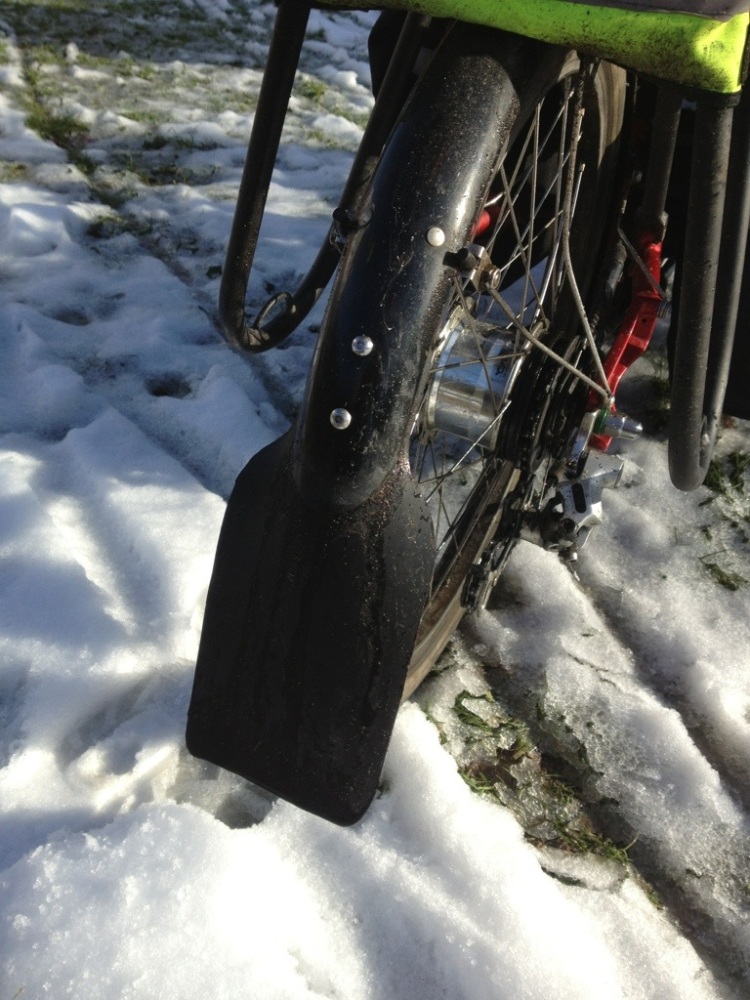
I took this picture before fixing the mudflap on (we fixed the mudflap to the inside of the mudguard, this is just laying it against the mudguard in readiness). You’ll see it’s much longer than the usual mudguard which is good – should cut down on annoyed comments from people cycling behind me during rainstorms.
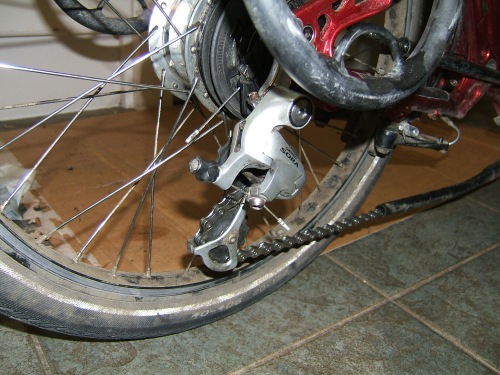
The next task was to give the drivetrain a good clean whilst the chain was off. We very quickly realised that the chain tensioner (a derailleur system) had seized up – it’s supposed to move slightly when I change from the middle ring to the granny ring but was completely solid – this presumably accounts for why the wheel was so hard to remove.
James removed the entire gear mech hanger from the trike and spent ages cleaning it, lubricating it and eventually got it moving again.
Here’s the trike minus gear hanger.
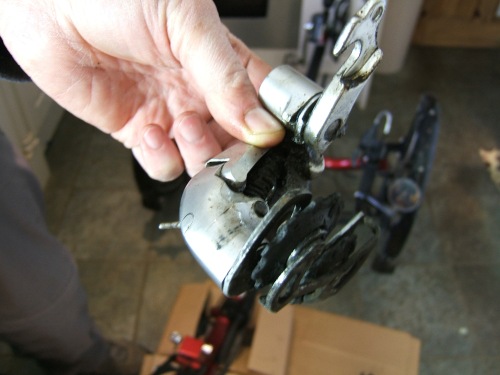
And here is the offending chain tensioner. The bit above James’s thumb is the bit that wasn’t moving – but we eventually got it freer so it could move.
I now know that it’s important to change into the granny ring now and again to keep that part moving.
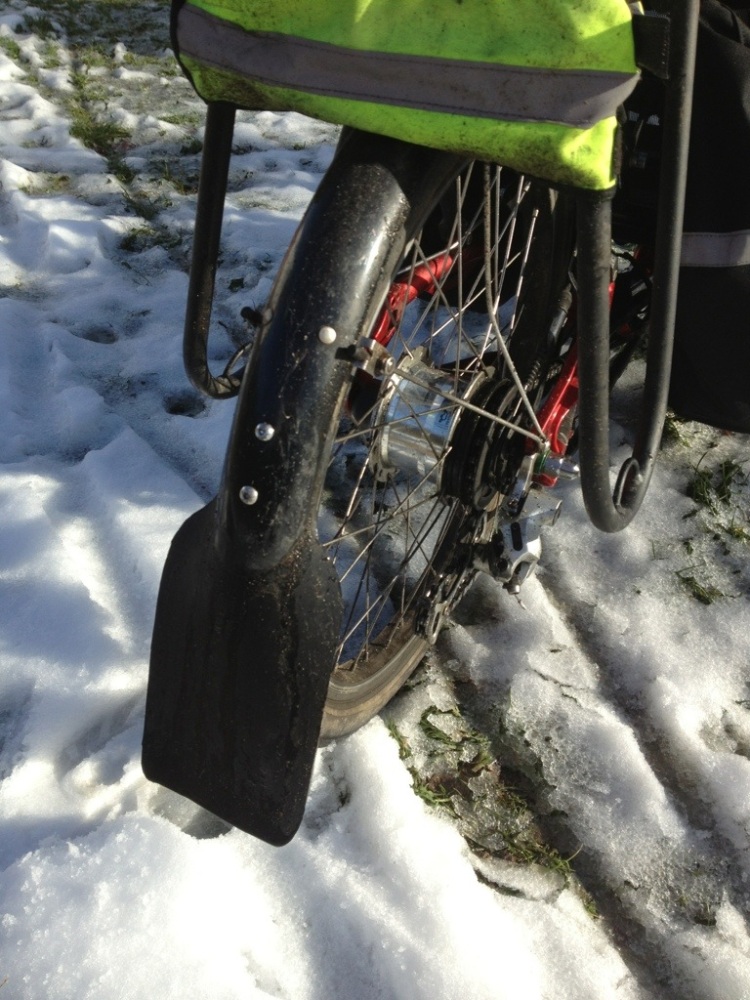
We put the chain tensioner back on and here you can see a shot with the new mudflap as well.
I had originally planned to service the brakes and take off the front wheels and clean them up but everything was taking a lot longer than I had thought so we decided to just finish up with the chain.
Firstly I decided to release and re-tighten the idler. This is something I learned is necessary from my Trice Q – the idler completely seized on that and it took us several days to loosen it enough to change the idler. We ensure we always unscrew and then tighten it every three months or so.
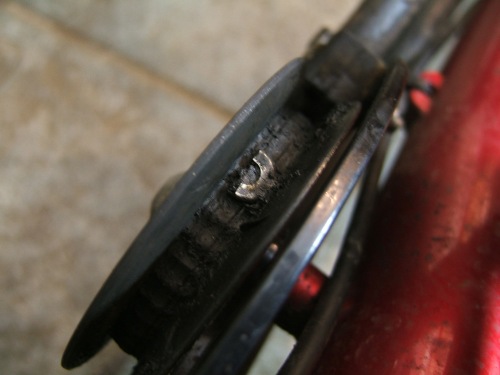
When cleaning the idler I noticed part of the broken chain quicklink – no idea how it got there! It was really embedded in the muck too!
Normally when we replace the chain we don’t remove the old one first; instead, we attach the new chain to the old to pull it through all the chain tubes etc. This time we had of course taken the chain right off so we had an interesting ten minutes trying to push the new chain down the chain tubes. I had to hold the trike upright so that gravity assisted. In the end we managed it (James did the difficult stuff, I just held the trike up!)
The chain was fixed, the alfine cable was put back on the gear mechanism and I was ready to go!
I took Alfie out for a short ride (15 miles in the dark!) and everything felt lovely and smooth and much quieter. The Alfine hub gear was slightly protesting at the sudden change in temperature (from our warm kitchen at 19 degrees to the outside at -1) and I had to adjust the cable a little to stop the gears slipping. Fortunately you can adjust the cable whilst cycling along using the little rotary knob thing on the trigger shifter so it’s not too big a deal.
As it was dark I wasn’t able to take a photo of the mudflap in situ and the addition to the seat so the following morning I took Alfie out for some photography.
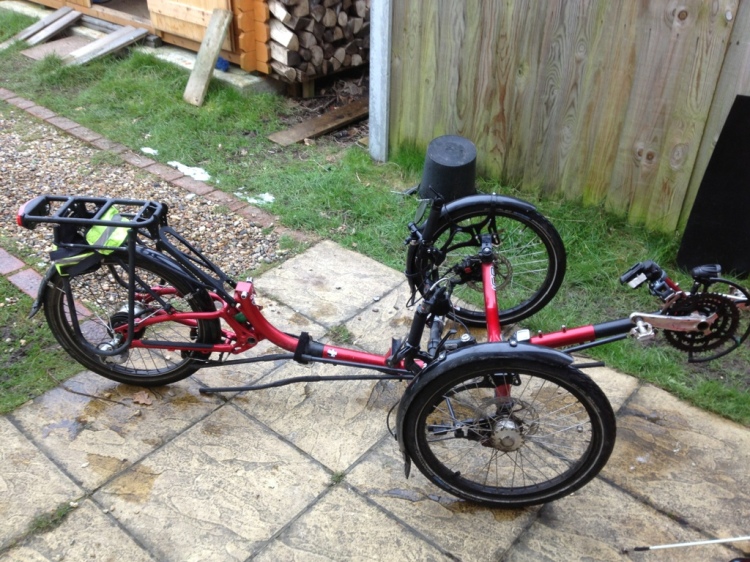
Here is the mudflap in situ.
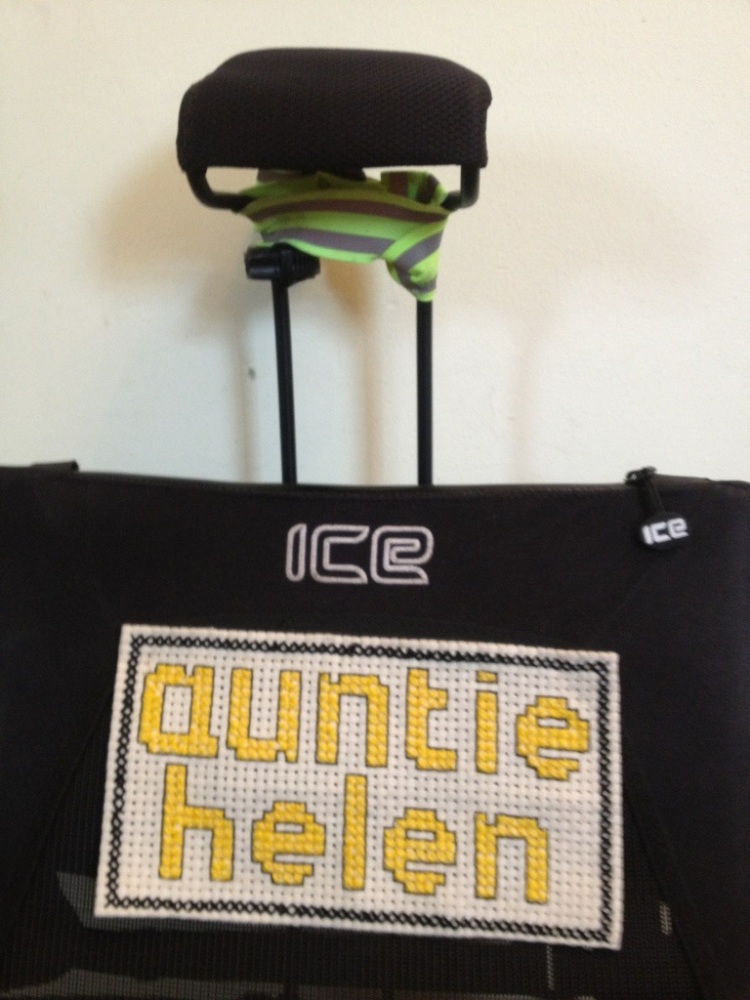
And here is the cross-stitch on the seat.
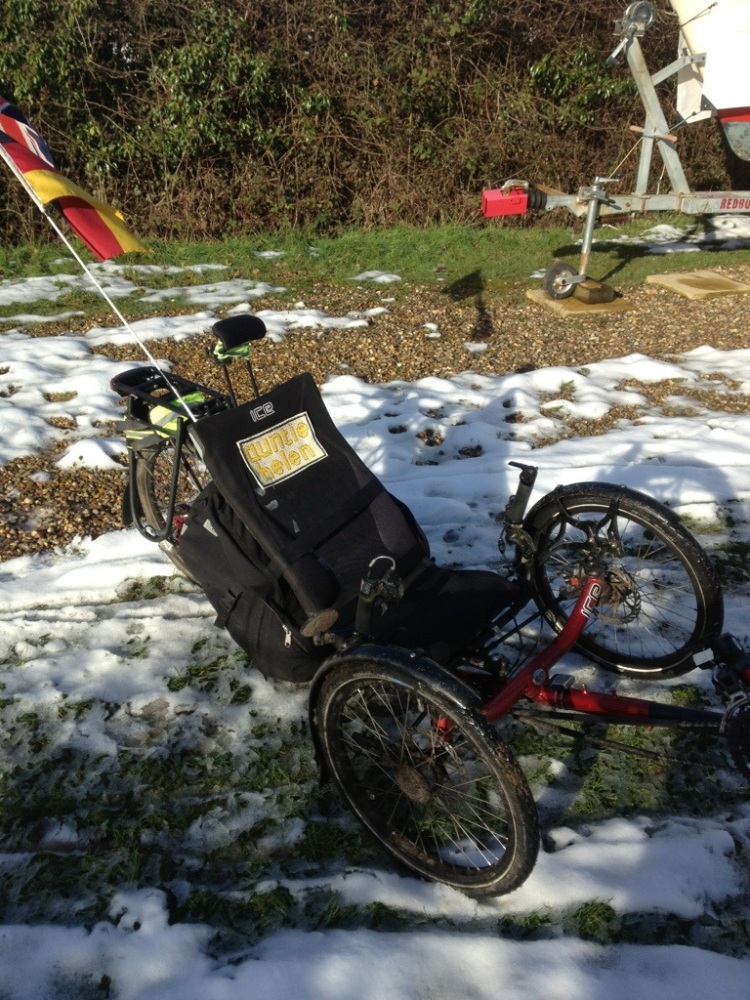
I then went out for a longer, hillier ride (25 miles).
I noticed that the Alfine hub was being a bit pernickety. It seemed reasonably OK when using the big chainring at the front but when I switched down to the middle ring it kept slipping/going into neutral. I adjusted the cable length (using the rotary knob thingie on the trigger shifter) but if the gears were OK in the high numbers they slipped in the lower gears, and vice versa.
This had only started happening since I changed the chain so I decided it was probably something to do with the cable run. I had cleaned the whole area whilst the back wheel was off yesterday but maybe had mucked something up a bit.
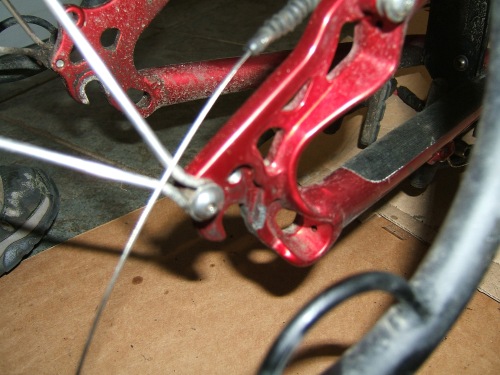
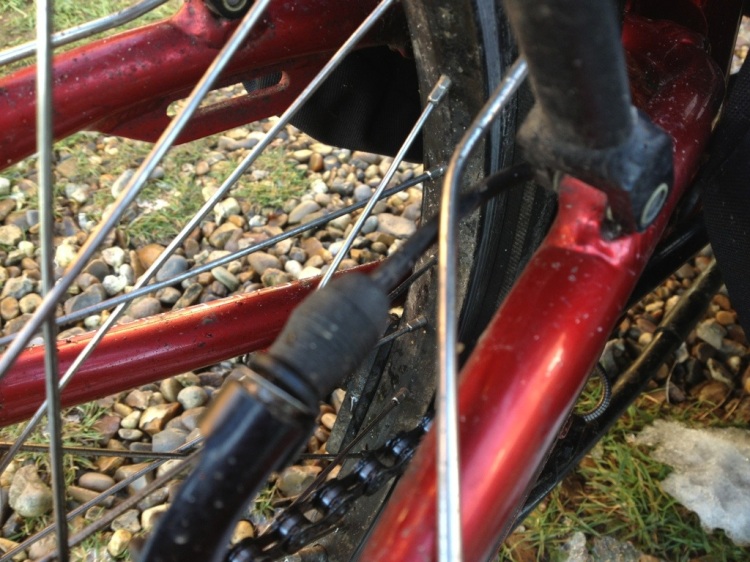
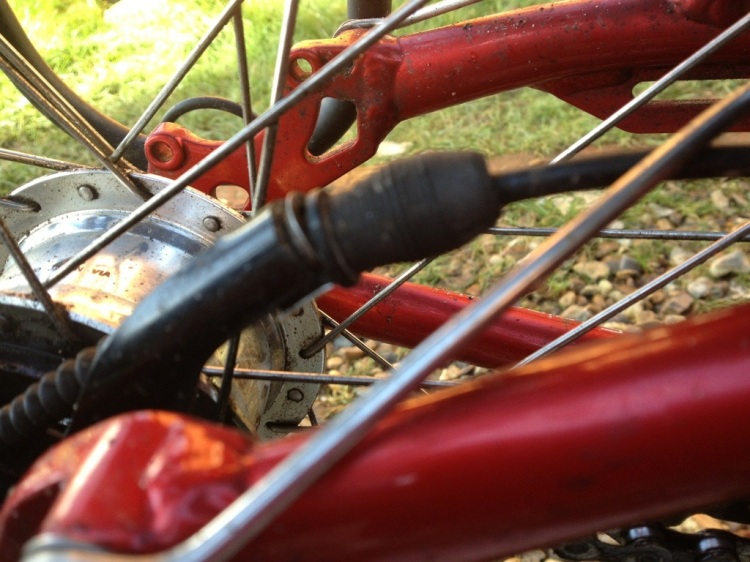
I checked the cable was running free (which it was) but then had a closer look at where the cable is directed onto the arm for the hub. It’s hard to see from this photo (which isn’t entirely in focus!) but the cable runs under the mudguard stay and that is quite a tight join.
I decided it might be worth seeing if I could route the cable above, rather than underneath, the mudguard stay to give it a bit more freedom.
Seen from the side (before I adjusted it) you can also see that the metal end to the arm (the left hand side black thing) has slightly pulled out – there’s a silver ring at the end and there was a couple of millimetres space next to it. You can also see this on the previous photo. Once I had undone the cable I pushed that bit in.
It was relatively easy to change the routing of the cable to pass over the mudguard stay.
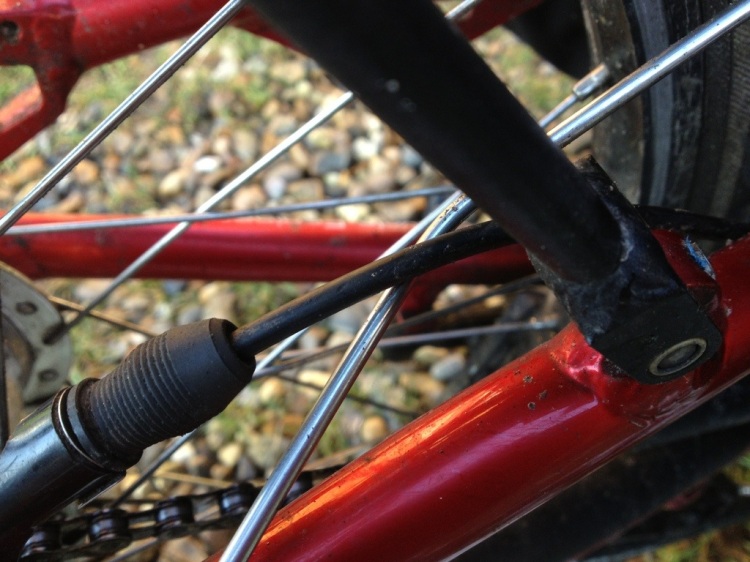
I’m hoping this might have cured some of the hub gear’s tendency to jump into neutral. Before my chain snapped the hub gear was behaving exceptionally well so it’s clearly been upset by something I’ve done in the servicing/chain replacement. If it’s still fussy tomorrow then I’ll do an oil change in the hub in case some snow/grot has got in there and is causing it annoyance.
Anyway, once again maintenance on my ICE Sprint was pretty easy. And I love the new mudguard and my name tag!
UPDATE
The gears were still badly slipping, particularly in the middle ring or granny ring (not too much in the big ring). After trying various things (checking the chainline, shortening the chain by two links) I got James to run alongside the trike while I rode it in the middle ring so he could just check the chain wasn’t slipping over the sprockets at the back – and it was! Why I hadn’t thought of this before I don’t know; putting a brand new chain on a sprocket that has done 11,000 miles and has got quite worn (especially as the previous chain had done 6,100 miles) is a recipe for a slipping chain. In the middle and granny rings there is more torque which I suppose makes it worse (plus the chain tensioner isn’t maybe pulling as hard).
So I have emailed Huw at Madison for his advice on whether I will be able to change this sprocket myself and where to get one from. I am relieved it’s not a problem with the hub itself!
2 comments